Garage is an important area in the house to store a lot of things. Not only for your cars, but the garage becomes an important area to do some crafting as well. Surprisingly, the garage floor can get damaged and stained overtime. If your garage floor also has the same problem, it will be the best time for you to paint it. The new paint will totally change the look of the garage. Plus, it can also give extra protection to the garage floor itself. You don’t need to worry because this project is relatively easy and it won’t cost you a fortune to start this project.
Read also: STEP BY STEP ON HOW TO PAINT A GARAGE DOOR
1. Preparation
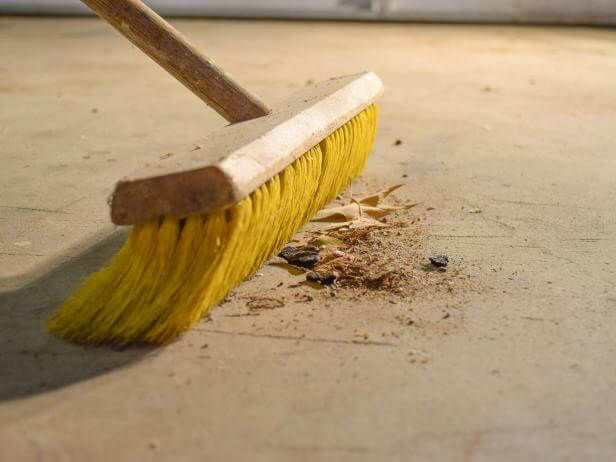
Before you begin painting the garage, you will need to prepare the garage floor because the floor can easily get stained with dirt and grime. At this stage, cleaning the floor properly will affect how the paint will turn out and make sure that you do this part before jumping to the next stage.
To clean the garage floor, you will need to clear out the stuff in the garage. But, if you have lots of stuff piled up in the garage itself, you may need to push them to one side and repaint each side to avoid moving lots of stuff at one time.
The best way to clean the garage floor is by using a power washer. The power washer will easily remove the dirt and you will get a clean garage floor in no time. But, if you don’t have access to a power washer, you can easily sweep the dirt with a broom. If there is lots of dirt on the floor, you will also need to scrub the floor and clean it using a high pressure nozzle or degreaser. Allow the floor to dry out for a few minutes before you do the final scrubbing to ensure that the floor is really clean. You also need to make sure that you don’t let the cleaning solution dry out on the floor because it can leave stains.
2. Repair Cracks
Not only stains and dirt, but the garage floor can also get cracked overtime. This stage is very important because you definitely need to fill out the cracks to make sure that later, the paint will be smooth when applied. You don’t need to worry because there are lots of products that you can use to fill out the cracks.
If the cracks in the garage floor are small, you can just fill it using mortar or concrete repair compound. But, if the cracks are deeper or they have formed a hole, you will need to use a concrete patch. You will also need to fill the cracks layer by layer and allow each layer to dry before applying the next layer. Make sure that you wipe the excess product so that you can have a smoother and level surface.
The most important thing to note here is that you will need to carefully read the instructions of the product. The instructions will give you a recommended time before painting. Some products allow you to paint it in a week, while other products will allow you to wait for over a month.
3. Etching the Floor
Etching the floor is also an important step to do before painting the garage floor because it will help in opening the concrete so that the paint can easily attach to the floor. But you need to note here that you may not need to etch the floor if it can absorb water well. You can easily test it out by pouring a small amount of water on it and see how long it takes for the water to absorb. If the water can be absorbed quickly, you don’t need to etch the floor.
But if it doesn’t, you can etch the floor by mixing an etching solution and pouring it over the garage floor. Make sure that the etching solution is absorbed well by brushing the floor. Then, clean the floor again with a pressure washer or a high pressure nozzle to remove the cleaner and remaining debris.
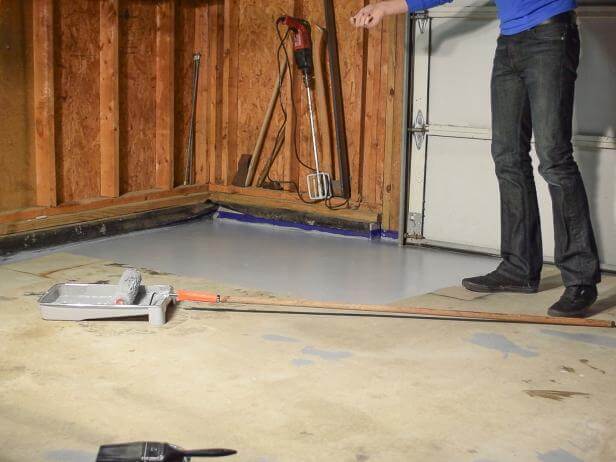
4. Coat with Bonding Primer
To make the paint stick well to the garage floor, you will need to coat it first with a bonding primer. This product is an important step to give treatment for porous concrete. All you need to do here is apply the bonding primer around the edges of the garage using a paint brush. Then, apply the bonding primer for the rest of the floor using a paint roller. After you apply the product, you will need to wait for a minimum of four hours before painting. You can also wait longer, but make sure that you don’t leave it longer than 30 days.
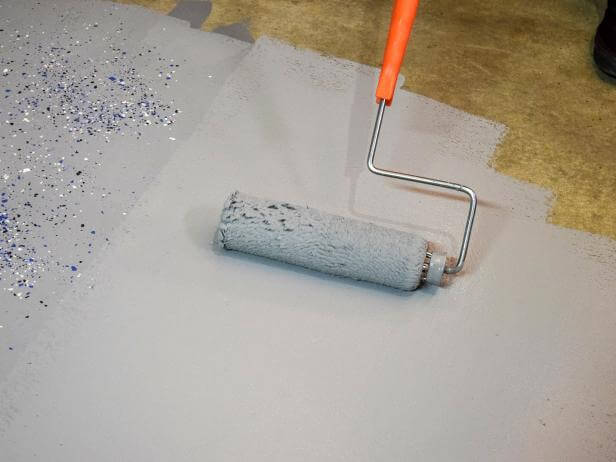
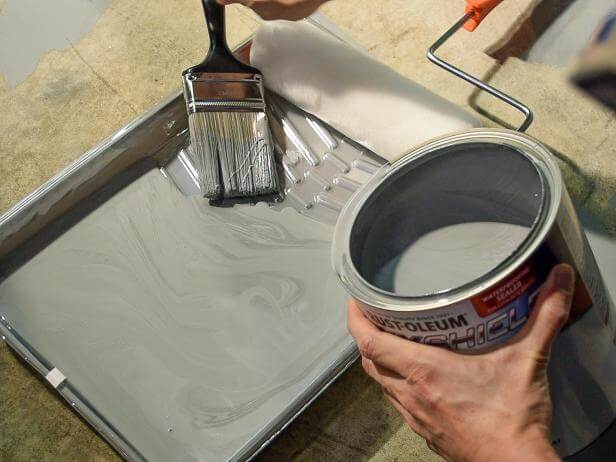
5. Apply the Paint
After you are done with the steps above, you can directly start to paint the garage floor with epoxy paint. Even if the paint comes from the same manufacturer, you will notice that some of them have different color consistency. Some of them will be lighter and some of them will be darker. If you want to have a similar color consistency, you can easily mix two different bags of paints together.
When you have the color you want, you can start painting the garage floor. You can use a paint brush to paint the edges, but it may give you an uneven finish. You can use a paint roller for the entire floor, but make sure that you cover the edges with tape so that the colors don’t go to the wall. The instructions in the package also mention that you need to pour the paint from the bag to paint the floor, but actually, it will also give you an uneven finish.
You just need to pour the paint in the paint tray and not use a paint brush at all. Then, pour the flakes when you are done painting a small section of the floor. It is an important step to do to allow the flakes to stick to the paint when it is still wet. Just throw them in the air and let them randomly fill the space.