Garage might be the second thing that your guest will see, right after the fence, when they visit your house. The appearance must be on point, so you will stand beside them as a proud house owner.
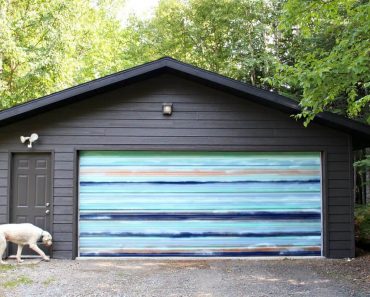
Therefore, regular maintenance is necessary when you think it is the time to do so. Rather than replacing it with the new one, one cool way to maintain it is by painting it and make it look like new.
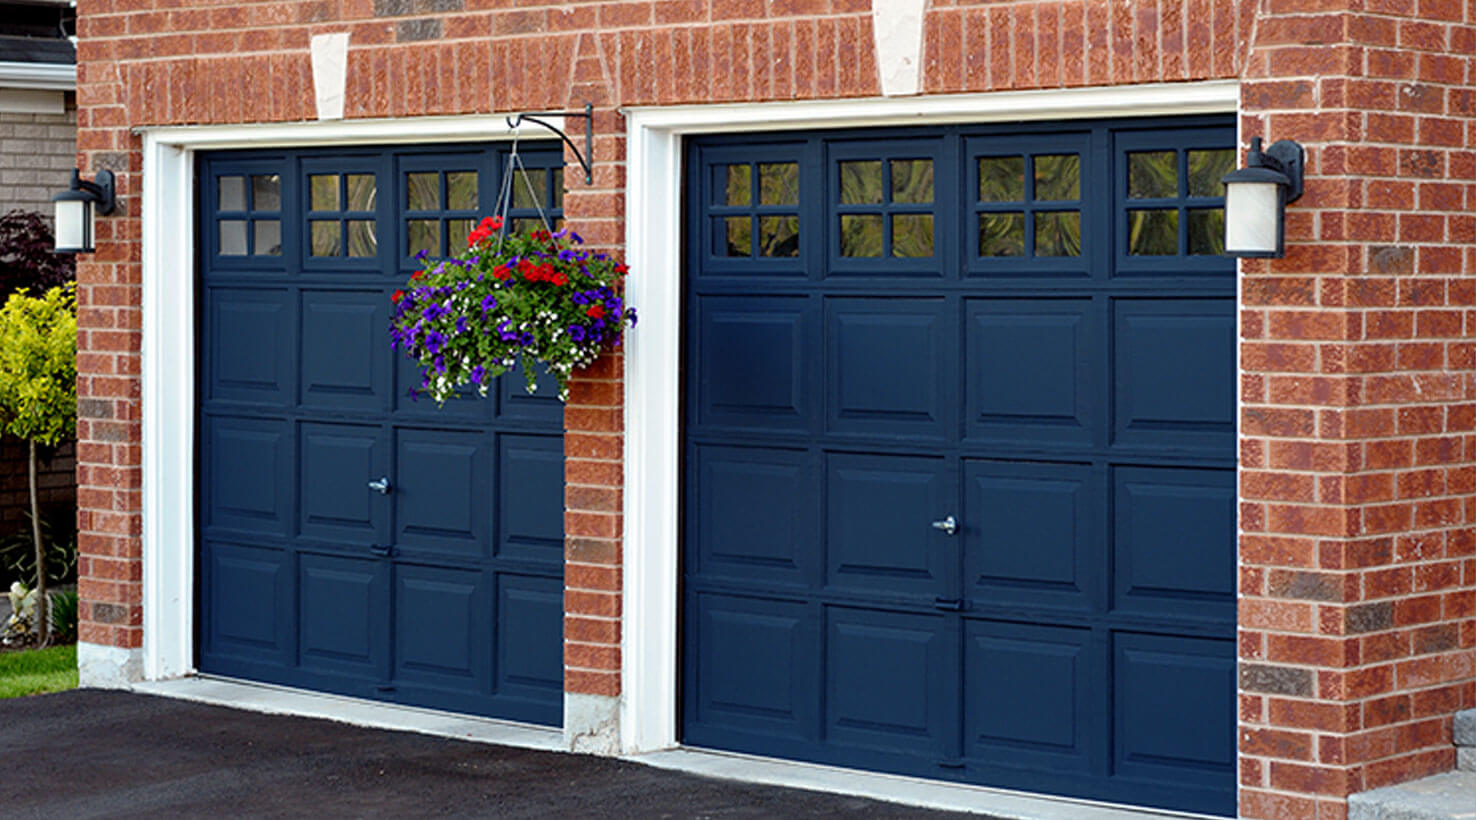
Image: localsandiegopainting.com
Before you go further, it is better for you to prepare all tools and materials that you are going to need later on. You should prepare all of these things before you start to paint, so you will not waste your time going here and there just to take what you need.
List of Tools:
- Roller tray
- Drop cloth
- Wrenches
- Garden sprayers
- Wood block
- Hose
- Stepladder
- Paint roller
- Shop vacuum
- Paint scraper
- Screwdriver
- Paintbrush
- Sanding block
- Putty knife
List of Materials:
- 100-grit sandpaper
- Primer
- 2×4
- Painter’s tape
- Box of TSP
- Paint
- Exterior caulk
Read also: EASY STEPS AND TIPS HOW TO INSTALL A GARAGE DOOR OPENER
Step by step on How to Paint a Garage Door
After you prepare all of those materials and things, you are ready to begin the painting. Well, it seems intimidating and full of challenge. However, if you do it in the right way using the right approach, you will be able to finish it.
1. Clear The Garage Surface from Any Unwanted Stuff
Having the surface clean will help you to paint easier later on. Scrape any loosen paint and scrubbing the surface to remove chipped and rusted spots. You can use a wire brush to do it. If your door happens to be made of wood, you might found some holes or cracks. Fill it by applying caulk.
You can use a putty knife to do it. Let it dry. After you make sure it is all clean, take a sponge and all-purpose cleaner to clean the whole surface. Continue the cleaning by taking a garden hose to rinse it. Use clean towels to dry it manually and let the air dry it as well for around one hour.

2. For Parts of Garage You Want to Keep from Painting, Remove or Tape Them Off
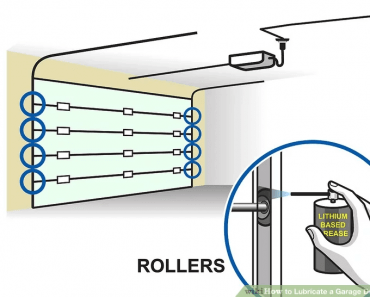
There might be some parts of the garage, such as the hardware that you would like to keep its original color.
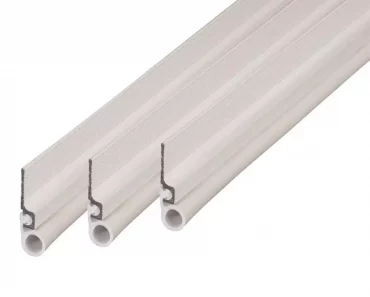
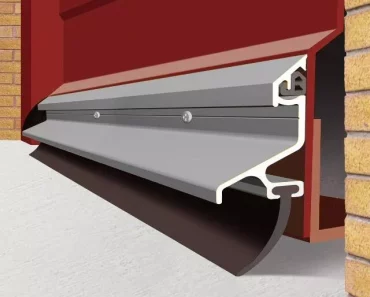
Therefore, tapping them off will be worth. Also, you must tape off the seal that you can find under the base of the door. If you have vinyl-flange weather stripping on the top and the side, it is suggested to tape them off as well.
However, if you would like to paint, it is fine as well. Lift the garage door, so it will reach the fully open position. Then, lay some fabrics or drop clothes to prevent the paint dropping to your garage floor and the drive way. By any chance, if your door is unpainted, you are suggested to spread a coat of primer.
3. Take Off the Opener from Its Mechanism, Then Manage the Door Position
If your garage style is the one that has an opener, take it off from its drive mechanism. The mechanism looks like a short cord covered with a plastic handle that hangs from the track of the door. Take a block of 4×4 woods, and lower the door manually.
The size of the wood depends on how low you manage the door position in the right way. When it is lifted, you should make sure that the part eases around an inch from the trim. So, it can let you reach the edges and top edges of the door.

4. Prioritize The Top Part of The Door to Be Painted First
When you paint the top part, you can use a stepladder to let you reach the highest part. Different material of doors will give you different direction for this number. For doors that are made of wood, you may start to paint visual framing elements, followed by corners and dimensional edges around the framing.
You can use a 4 inch brush to do so. After finishing those parts, finish it using center panels. Coat them using a roller, but you’d better watch out for the complete coverage. If you have a rough surface, you shall repeat the brush to make it clearer. When you have done all of these things, you may finish it by smoothing the surface using a final roll.
5. Continue The Painting to The Bottom Part
Take the stepladder away and you may continue to paint the bottom part. Take another block of wood, and lift the door until it reaches around second section. Painting this part using the same method you did in the top part. When you paint the bottom part, you might find yourself unable to brush edges under the weather stripping.
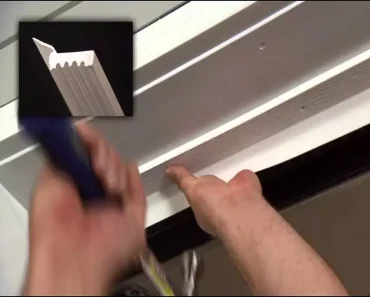
To solve this problem, you can paint it while you are pulling it back with your fingers. One pro tip for you: let the between sections, don’t paint it as well. It will not affect a lot when you draw these parts because it is not exposed as much as the top and bottom part. If you are worried you might paint it accidentally, you can tape it.

6. Leave the Door Open and Let It Dry
After you finish painting the whole door, leave it open. The air will dry the wet painting in a few hours. Even though it is tempting to check it by touching the surface, you’d better not to do it unless you want to break the painting you have done.
The estimation of time you need to let the air dry the paint depends on how thick the paint you apply to the door. The thinner the paint, the sooner the paint will dry. Instead, if you apply too much paint, you will definitely need extra time to let it dry. However, since garage doors get a lot of damage through the time, it is suggested to repeat the painting using the second coat.

