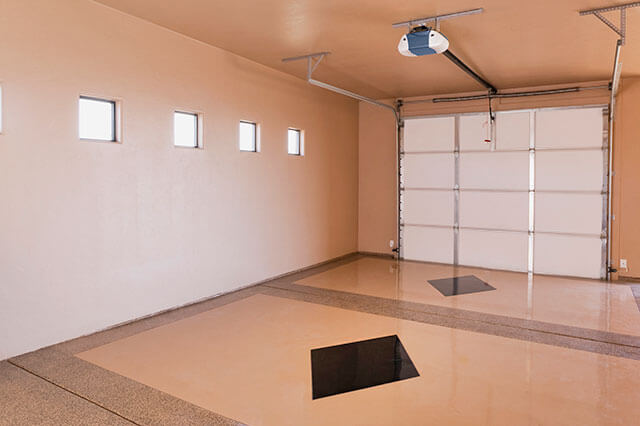
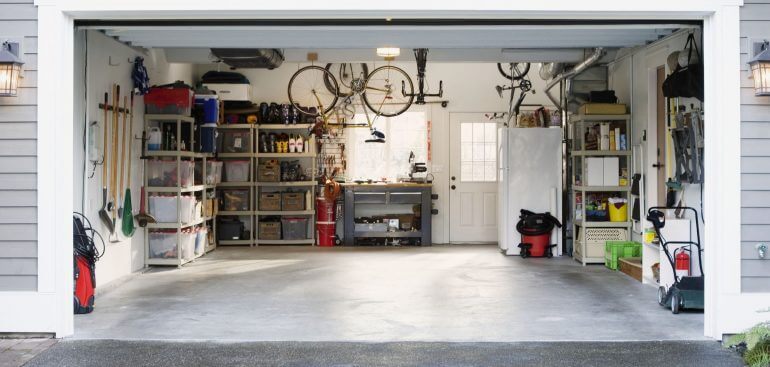
Garage can be the best place to do your DIY projects. But, the garage can be very hot in the summer and very cold in the winter. To make it more comfortable, you need to consider insulating the garage and transforming it to the most comfy place in your house. And how to insulate a garage?
The problem is that there are lots of types of insulation that you can choose for your garage and the price can also vary. If you want to build the insulation yourself, you need to know how as well as the best insulation types for your garage. Here are the tips.
Read also: HOW TO BUILD A GARAGE WORKBENCH: ONE-DAY DIY PROJECT
Easy Ways to Insulate a Garage
Insulating the garage may not be enough to keep the garage warm or cool, but it will help to maintain the temperature and prevent the air from escaping from the garage.

The insulation will also help in lowering the energy bills and also reduce the noise from outside. In other words, it will be very great to insulate the garage if you do lots of projects that need power tools.
Hiring a professional to help you insulate the garage may be the best option if you don’t have time to do it yourself. In fact, it is very easy to insulate the garage yourself and it can be great to reduce the price because you don’t need to pay extra for the labor.
1. Prepare the Area
Before starting to insulate the garage, the first thing you need to do is to prepare the area you want to insulate. You need to clean the area and make sure that there is no dirt or mold left.
If there is drywall in the garage as well as chemicals, you need to remove them because the project can be a little bit dangerous and they can become hazardous.
The garage can be spotless, but in some cases, there will be cracks and gaps in the wall. The insulation cannot work properly if the cracks and gaps are not treated well. But, you can overcome this problem by using expanding foam to fill the cracks and gaps. Just shake the expanding foam and spray in the area.
You need to make sure that you only fill around 50% full and let it expand to fill the area. The foam will get hardened in 8 hours and you can continue doing the project.
Preparing the ceiling before installing the insulation can be a little bit different from preparing the wall. Before you install the insulation, you will need to install the baffles first. The baffles here will give space so that the air can flow well. The baffles are also important to prevent the ceiling from getting damaged from the moisture.
You can also consider insulating the floor, although it may not make any difference. Insulating the doors can also be considered, but it will be better if you buy the insulated door directly because making it yourself can give you lots of work.
2. Select the Type of Insulation
After you have made the necessary preparation, you can continue to select the type of insulation you need. There are lots of types of insulation that you can choose from and each of them has its own pros and cons.
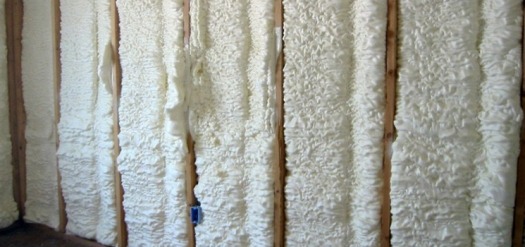
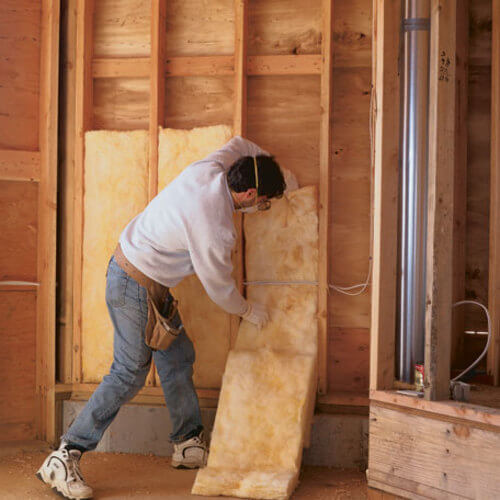
Some of them are very hard to install yourself and if you want to insulate the garage yourself, it is better to choose fiberglass insulation because it is the easiest type to install yourself.
The insulation also comes in rolls and batts so that you can adjust the quantity yourself. It is also a great type that will cover all areas in the garage, including walls, floors, and ceilings.
This type is highly recommended, but you are free to choose other materials, but you will need to hire professionals for the installation because sometimes they need experience to install.
3. Prepare Necessary Tools
It is better to be safe than sorry when installing the garage insulation. The project can be very dangerous and it can be life-threatening if you are not careful enough.
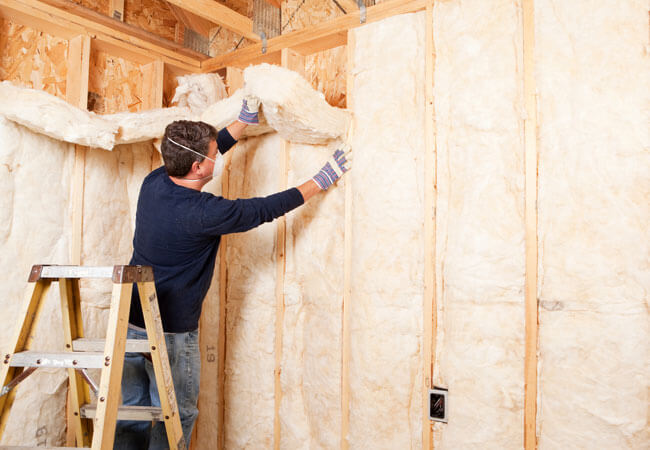
To prevent it from happening, you will need to prepare safety tools, such as gloves, safety glasses, pants and a long sleeved shirt, fiberglass-proof mask.
Besides those tools, you will also need to prepare a ladder, box cutter, and hammer tacker. To help you install the insulation, you can also consider buying an insulation kit if you need it.
4. Install Insulation
If everything is ready, you can install the insulation directly. But, in installing some parts of the insulation, especially the ceiling, you will need a helping hand from your friend because it cannot be done alone.
Before you begin, you will need to measure small spaces in the walls and cut the shapes from the batts. It is very important because the insulation should be flat and in place so that it can work well.
Install the insulation and make sure that it is deep enough to fill the wall. You can secure the insulation using nails or stable if necessary. Continue to install the insulation around the corner and near the floor. Make sure there are no gaps and you can cover it by cutting the insulation.
For the ceiling, the steps are basically the same as the wall installation, but you will need to get help from your friends. Either you or your friend will be in the garage and install the insulation in the hopper, and the other will gold the end of the hose and lead the flow of the insulation.
5. Covering the Insulation
Once you are done installing the insulation, you will need to install drywall on top of it. All you need to do here is glue and screw the drywall into the stud.
However, you will need to measure the wood to make sure that it fits. This is a very important step you cannot leave out because you cannot leave the insulation paper to get exposed to the air. The exposed insulation paper here can be very dangerous because it can cause fire.