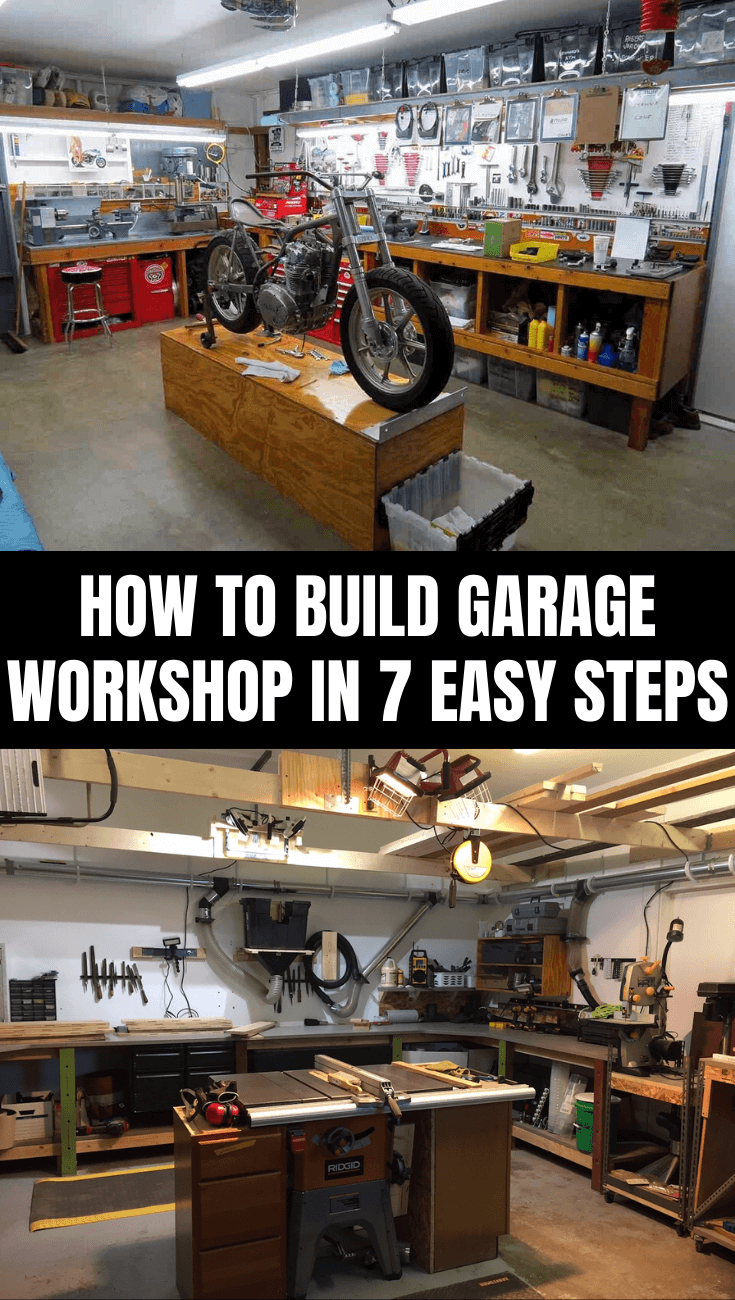
If what you want is a residential garage, then feel free to leave it dark and cluttered. However, if you want a workshop garage, then it’s a whole new different story. Workshop means real business – you want to be able to make serious projects with enough room and tools in a long period of time. Then, doesn’t that mean we got to get serious on preparing one as well? Sure do. However, ‘serious’ doesn’t mean it’s going to be difficult. In fact, you can make a garage workshop in a simple seven steps below!

1. Got The Space Yet?
Before we get started, we need to think about the most crucial thing: space. Honestly, if you already have a garage, then it is an obvious choice. However, not everybody has garages wide enough for both your vehicle and workspace.
So, unless you do have one or don’t have space-consuming vehicles such as cars or vans anymore, consider other spaces possible for a workshop. This doesn’t have to be too complicated – if you have an empty room, use it. If you don’t however, consider building one on a free plot in your yard.
2. Clean Your Clutters
If you are using the garage or a room, after all, clean up the clutters first. After all, we will need to redecorate and reorganize the items in the garage. So, to cut the chase and make it less difficult to start redecorating, declutter the space first.
While at it, you can separate the items that you will need in your workshop, items that belong to the garage (like maintenance tools, gardening tools, and the like), and items that don’t belong to the garage. Then, consider throwing, giving away, or storing the items that don’t belong to avoid more clutter in the future.
3. Polish the Floor and Walls
Ok, you don’t actually have to polish both walls and floor of your garage. However, if you are planning to get dirty and messy with your projects, they need to be considered. This is especially true when your floors and walls are hard to clean.
If you want to get things done as soon as possible, purchase some floor mats to avoid oil spillage stain the floor. However, if you want a proper workshop, then coat the floor with epoxy. Epoxy is easy to clean with just water and oil will not stain it. Plus, it looks better compared to concrete. You can also apply epoxy (or alternate with waterproof paint) for the walls.
4. Install Ample Lighting
Have the space ready? Now it’s time to install some stuff. As we will work in the workshop for a prolonged period of time, probably passing the day, good lighting is necessary. After all, projects and maintenance sometimes requires us to see the details of what we are working on.
According to Illuminating Engineering Society aka IES, 300 lumens per foot is necessary for good visibility in workshops. Also, the Color Rendering Index aka CRI is recommended at or between 85 to 100.
You can install lighting with the standard all over the room, but this standard only needs to be followed in the space-area you will be working most. To make sure the electricity bills don’t gnaw too much on your wallet, and then use LED or fluorescent lights.

5. Workbench!
No workshop is complete without a workbench. So, make sure not to forget it. Though roomy is always best, the size of the bench depends on what you need. For example, if you are doing carpentry in the workshop as well, then you may need the widest workbench possible that can be used with power tools. If your projects are rather small, then the same desk size as standard commercial studying desk should do. If you need specific shapes, you can custom-make or DIY the bench as well.
6. Know How to Store Your Tools
We have done the step to declutter. Now, to make sure that your workshop stays professional, let’s do another step to prevent future clutters. This can be done easily with the right storage space. Depending on the tools you have, there are types of storage that you can use.
For one, tools that are better readily accessible are best with hanging storage. If you have small items such as bolts and screws, then consider using organizers or sorting trays. Other tools that are too heavy to hand and don’t have to be used often can be put on a shelf.
But what if you don’t have enough space for storage on your walls? What if there are items that take too much space and don’t get used too often? Then, consider installing overhead storage. They are basically racks fastened to the ceiling, so they don’t take floor nor wall space. This type of storage is perfect to store miscellaneous things that are not related to your workshop.
7. Don’t Forget Your Comfort
If you need to spend a lot of time in one space, what do you need? Comfort, of course! So, consider the comfort of your garage workshop as well. For one, install windows to let natural lights in. After all, staying under lamps all the time is not healthy, much less comfortable.
So, consider installing side windows and/or skylights for some sunlight during the day time. Plus, since sunlight is free, you will have less on electricity bills when working during the day.
Don’t forget about the temperature as well. Sure, some people may live in a place with a stable temperature, thought such a place gets harder and harder to find with climate change and all. Well, if you don’t have that stability in your area, then make sure that the workshop is well ventilated.
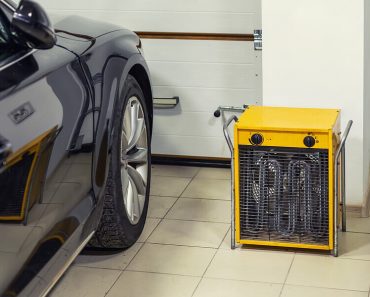
If you are living in a country with four seasons, then make sure the space is properly insulated. Consider installing cooling and heating systems as well.
Surely, some steps may take more time than the other. However, as long as you know what to do and when to do it, things will sail smoothly. Remember – a workshop doesn’t have to be fancy. As long as it’s accommodating and easy to clean, it will do the job right.


