It is convenient to have an automatic key to open and close the garage door. You don’t have to get off the car just to pull down the door. There is special code set to the control key that is connected to the machine. This password could be adjusted. It is even recommended to change the password regularly. Do you know how to do it? How to change garage door code? Keep reading.
Read also: REASONS WHY GARAGE DOOR REMOTE NOT WORKING
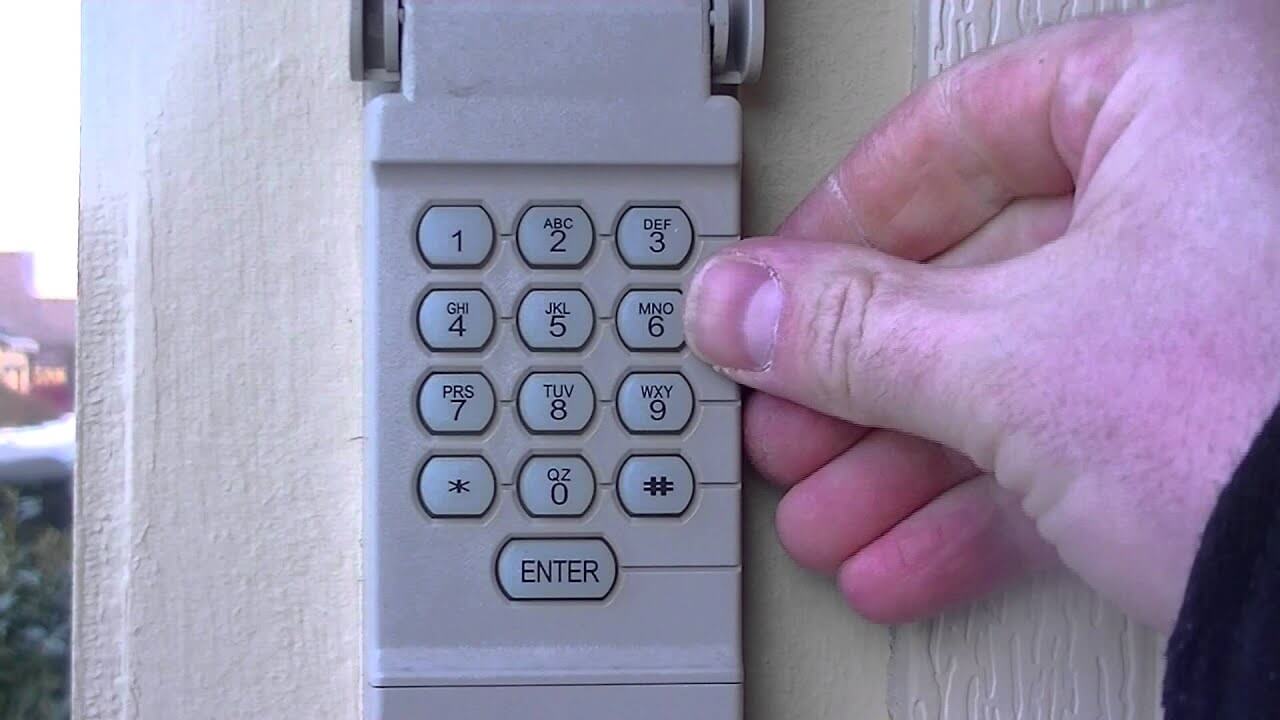
For Entries with Keypad
There are two kinds of garage door. One has keypad attached to the door. It helps to open the door manually when the control key doesn’t work. Another type of garage door is the one without keypad. Thus, the control key would be even more precious as there is no other way to open the door. For each type of the garage door, you will go through different steps.
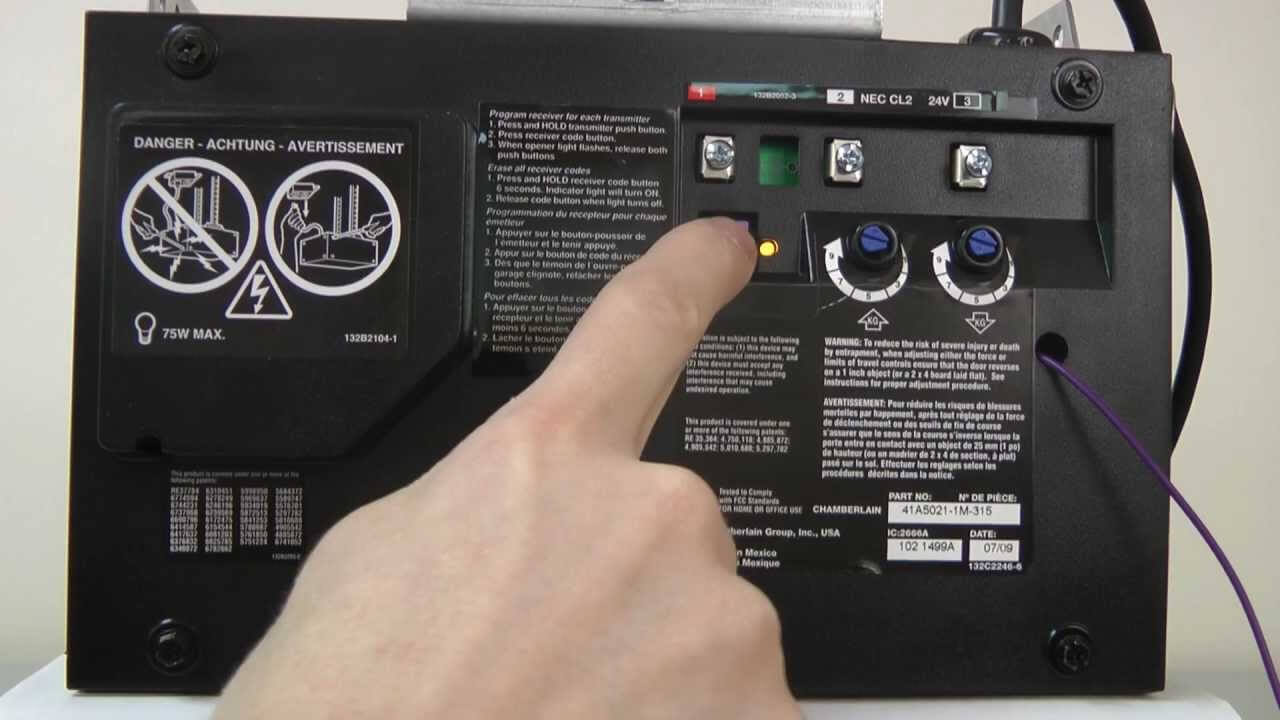
Step 1: Reach the Garage Door’s Motor
To reach the garage door motor, you have to locate it first. Go to the garage and check for a black box that linked to the rail. It is usually placed above the head level and in the center of garage rail track. After you find the motor, grab a ladder and start climbing. Make sure that the ladder is raised high enough so you could handle comfortable without standing on your toes.

Step 2: Erase the Old Codes or Password
When you work on garage door motor, you don’t have to bring any tools from the tool box. You only need to know which button to press. Now that you are standing behind the motor, try to locate “reset” button. It could be either labelled or has blinking light on its side. In some brands, the “reset” button is named as “learn button”.
If you have found the button, press it to turn off the light. You might need to press it for several seconds. To be save, try to press it once. If the trick doesn’t work, then you could press longer. When the light goes off, it means that password or any current code is erased from the system.
Step 3: Provide New Code
Now that the old code has been deleted in the system, you could think of a new code. Make sure to create a code that meets the minimum number requirement. It is also important not to repeat the same password, so other people could not break into your garage by luck. Before entering the new code, press again the “reset” or “learn” button until the light goes on.
Press the new code to the system. You will see that each time the number is pressed, the light beside the button will blink. It is the sign that the motor is recording the code. When you have finished entering the code, press the button again until the light goes off.
Step 4: Set the New Code in the Remote
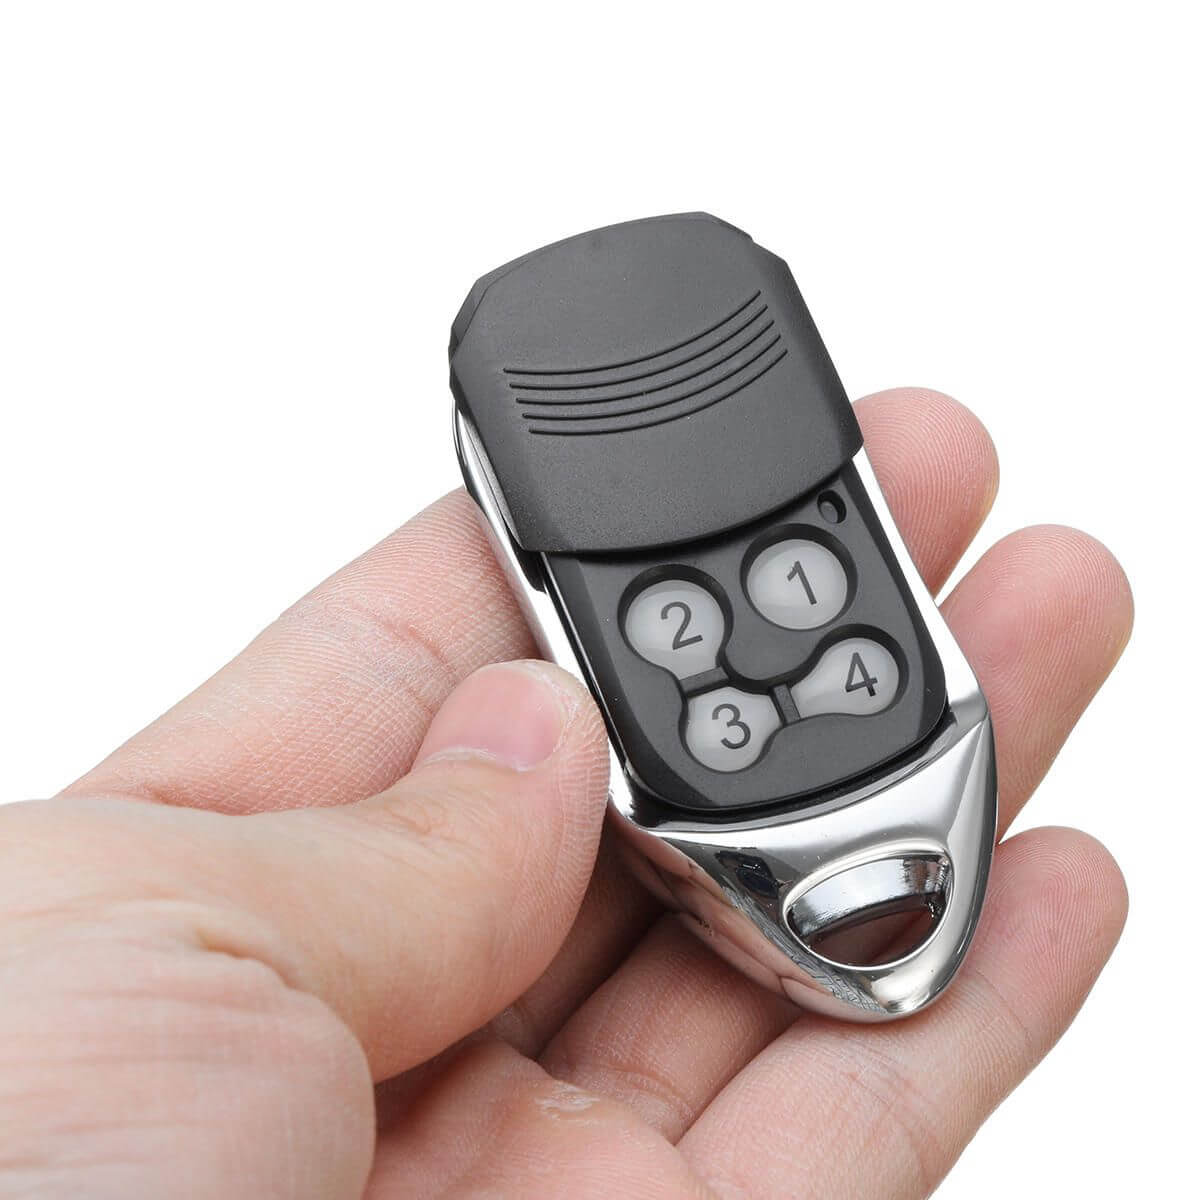
Congratulations! You have a new code for your garage door. Don’t forget to reset the old code on your control key. The step is easy; you just need to press the “on” button on the key. Notice that the light will blink several times before it stops blinking. This is a good sign: your control key has accepted the new code. Make sure to do this as soon as you turn off the motor.
Step 5: Repeat Step 4 to All Remotes
Some people have prepared themselves well; they have multiple remotes ready, so they could take one when the current remote is having problems. You might be one of them. If this is the case, then you need to reset the code for each remote manually. They are not automatically connected, so there is no other way to set the password.
For Entries without Keypad
Not all garage doors have keypad. The house owners only need control key to open and lock the door. It means that the password reset would also require a ladder and probably small screwdriver. You might need help if you are not confident to take the delicate process.
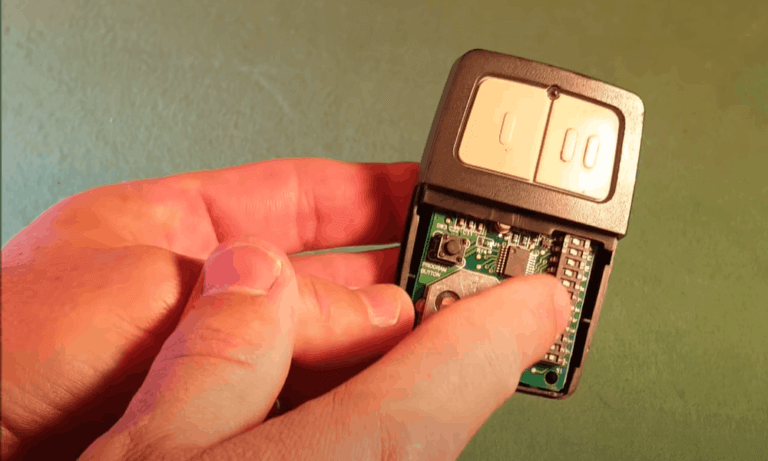
Step 1: Open the Key Cover
First step to do is removing the cover for control key. Depending on the brand and lock system, you could open it bare-handed or with the help of a screw driver. If second option is more preferable, then make sure to push on the connecting area. Push the cover gently to lift it up. Make sure there is no damage on the cover.
Put aside the cover and examine the broad lays inside the control key. There should be several different switches. They will be helpful to change the code.

Image: wcmanet.org
Step 2: Record the Switch Position
The current password for your garage door is kept in the switch. Therefore, you need to learn how the cables or switch should be placed for the key to remember the code. It is an important step as you cannot make any mistake. If needed, you could take photos to help you set the new code.
Step 3: Reset Current Code
Now that you have learned how the switch should be set, it is time to re-arranged it into the new password. If you are not confident to change the switch, try to watch some videos before asking for help. All you need to do is putting the switch into certain pattern, one that is different from the previous setting. If you do the steps right, then it will take only several minutes.
Step 4: Open The Motor
Get the ladder and climb until you could stand comfortably. Remove the cover of the door garage. The trick is similar to opening the control key. Just like the key, the inside of the motor also contains several switches. There should be one long row that resembles the one you see in the control key.
Step 5: Copy The Arrangement
You already have the experience to arrange the switch and make a new code. You are going to repeat the steps on the motor. This time, the switch is a little bit bigger, so you could see better. Bring over the photo or the control key and copy the arrangement. Check again before putting the cover back to the motor.


