Installing garage door weather stripping is a great way to seal out drafts and keep your home warm in the winter. There are a few different types of weather stripping available, so be sure to choose the right one for your needs.
For the bottom of your garage door, there are two main types of weather stripping: U-shaped or V-shaped. U-shaped weather stripping is more common and easier to install, while V-shaped weather stripping creates a tighter seal.
To install U-shaped weatherstripping, simply peel off the adhesive backing and press it into place along the bottom of the door. For V-shaped weatherstripping, you will need to cut it to size with a utility knife and then attach it to the door with screws.
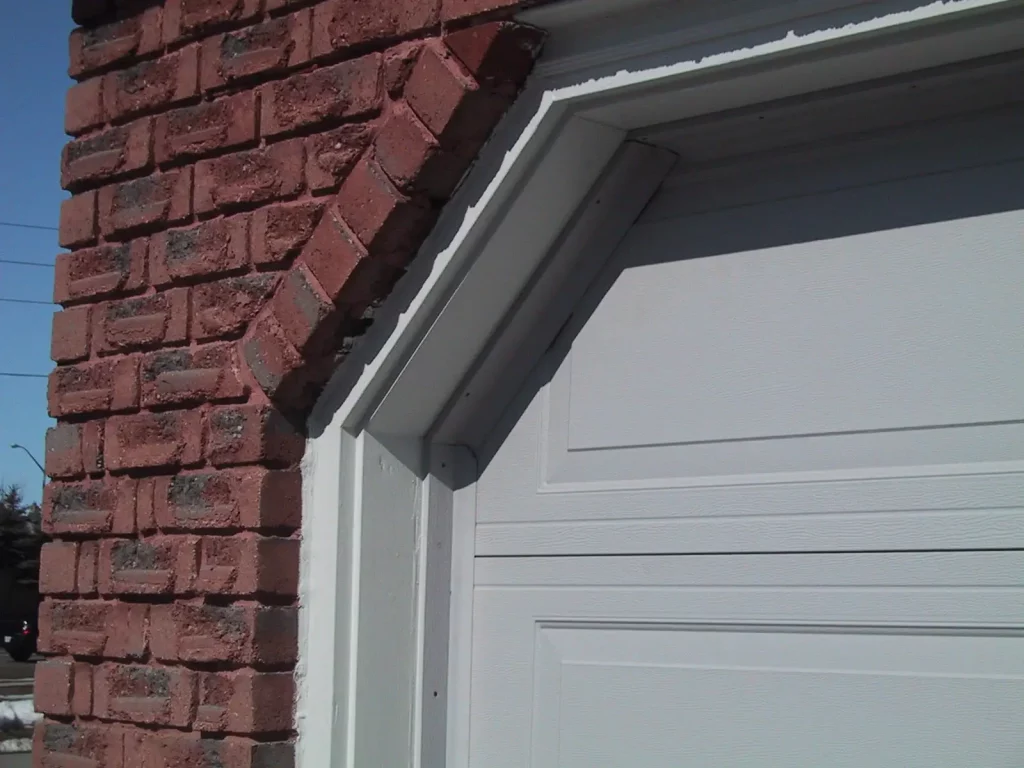
To seal the sides and top of your garage door, you can use either foam weatherstripping or brush weatherstripping. Foam weatherstripping is easy to install, but it does not create a very tight seal. Brush weatherstripping creates a much tighter seal, but it is more difficult to install.
To install foam weatherstripping, simply cut it to size with a utility knife and then press it into place. To install brush weatherstripping, you will need to drill a hole through the door and then screw the brush weatherstripping into place.
No matter which type of weather stripping you choose, be sure to install it on both the inside and outside of your garage door to get the best possible seal.
Read also: Replacing Garage Door Seal Single Channel Guides
How to Install Garage Door Weather Stripping Bottom
For the bottom, you will need to measure the garage door. Most hardware stores will sell weather stripping in sections that are easy to cut to size. You will also need a tube of caulk, a utility knife, and a straight edge.
1. Using the utility knife, score the old weather stripping along with the door so that you can easily peel it off.
2. Clean the door surface with a rag to remove any dirt or debris.
3. Cut the new weather stripping to size using the straight edge and utility knife.
4. Apply a bead of caulk along the door surface.
5. Press the new weather stripping into place and allow the caulk to dry for 24 hours.

Types of Garage door bottom seals
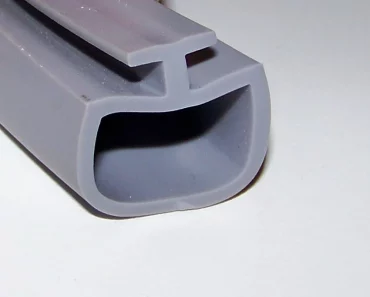
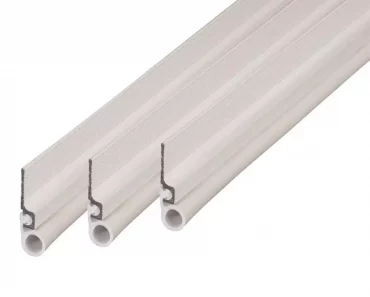
There are two types of garage door bottom seals: track seal and bulb seal. Track seal is made of interlocking metal channels that fit into the tracks on either side of your door. A bulb seal is a rubber or vinyl seal that attaches to the bottom of your door and creates a tight seal against the ground.
Track Seal
Track seal is the most common type of bottom seal. It is easy to install and creates a tight seal against the ground. Track seal is made of interlocking metal channels that fit into the tracks on either side of your door.
To install the track seal, simply align the channels with the tracks on either side of your door and then press them into place. The channels will interlock and create a tight seal.

Bulb Seal
The bulb seal is made of rubber or vinyl and attaches to the bottom of your door. Bulb seal creates a tight seal against the ground and is less likely to blow out in high winds.
To install a bulb seal, simply peel off the adhesive backing and press it into place along the bottom of your door.

How to seal garage door sides and top
To seal the sides and top of your garage door, you can use either foam weatherstripping or brush weatherstripping. Foam weatherstripping is easy to install, but it does not create a very tight seal. Brush weatherstripping creates a much tighter seal, but it is more difficult to install.
To install foam weatherstripping, simply cut it to size with a utility knife and then press it into place. To install brush weatherstripping, you will need to drill a hole through the door and then screw the brush weatherstripping into place.
No matter which type of weather stripping you choose, be sure to install it on both the inside and outside of your garage door to get the best possible seal.
Best way to install garage door weather stripping
The best way to install garage door weather stripping is to measure the door, buy the appropriate size and type of weatherstripping, and then install it on both the inside and outside of the door. Be sure to clean the door surface before installing the weatherstripping to get the best possible seal. Allow the caulk to dry for 24 hours before using the door.
Installing garage door weather stripping is an easy way to improve the energy efficiency of your home. By creating a tight seal, you can keep the heat in your home during the winter and the cool air in during the summer. This will help to lower your energy bills and make your home more comfortable.
