A garage door also needs insulation since the weather from the outside may damage the things inside your garage. Not only the cold weather but also the heat may slip through your garage door and damage your garage interior. That’s why you need to know how to insulate a garage door properly.
Read also: EASY STEPS AND TIPS HOW TO INSTALL A GARAGE DOOR OPENER
1. Why You Should Know How to Insulate a Garage Door
Not only to prevent the damage from weather changes, but the garage door insulation may also give you other benefits such as increase your property value. The good shape house will value more and that is why the door insulation is important for you, especially if you plan to sell your house.
The insulation may also reduce noise from the outside. Sometimes, the windows and doors have already sealed properly but you still can hear some noises. That’s why you need to seal your garage door too so you can minimize the noise more.
The insulation will also strengthen the door because it gives extra protection to anything that may happen to the door. And it absolutely will give extra comfort for your home, so do not skip to insulate your garage door.

HOW TO INSULATE A GARAGE DOOR
2. Buy the Products
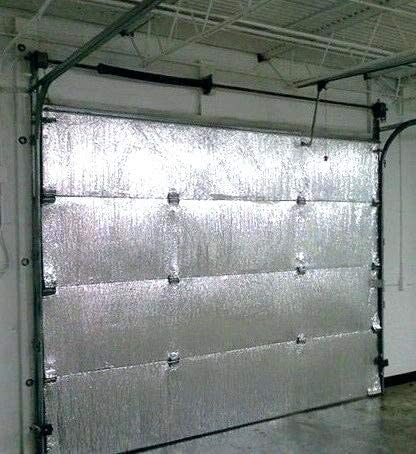
When you come to buy the products you need to know what to buy and what you need so you will not end up waste money for anything. You can buy two kinds of garage door insulator such as pre-cut R-4 expanded polystyrene panel foam or R-8 vinyl-faced fiberglass batting kit.
For the house in the moderate climate, the first one is enough and it is cheaper than later. However, if the weather in your area is extreme, it is highly recommended to get the R-8 one. These two kinds only require simple cutting.
If you need or want to do the more precise cutting then you can go for higher R-value. You can get the R-98 with one or half-inch foil-faced fire-rated extruded polystyrene. Remember to only get the fire-rated because you don’t want any extremely flammable material in your garage and not only creates fire but also toxic fumes.
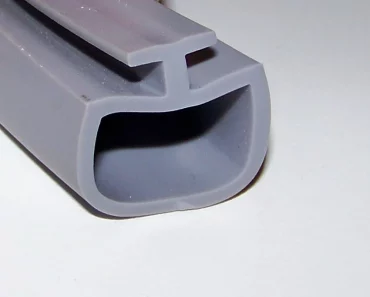
Don’t forget to also get the doorstop vinyl weather for the door’s sides and top. For the bottom part, you may also need the new vinyl bottom seal so there will no gap left. However, consider replacing your bottom track if yours are damaged.
3. Prepare the Tools
You will need a ruler to measure, pencil to make marks, and also some other tools. You also need to prepare screwdrivers, nails, hammer, and adhesive tape. Well, it is good the prepare the tools in advance so you work without disturbance of looking for tools.
4. Clean Your Door
Before starting anything, you need to make sure that the door is clean and the material is still in good condition. You can wash the door for both sides with cleaning spray and then rinse it. Let it dry so you will not get the slippery effect when you work with the door.
5. Measure and Give Marks for Installing the Retainer Pins
Always start by measuring and marking so you can get the precise measurement to cut the material later. You need to measure and mark exactly 12 inches from each edge of the panel and also in the midway between horizontal rails.
Then, you need the adhesive backing paper to stick the retainer pin base to the position. You will need two retainer pins for each panel, then install and secure them.

Image: familyhandyman.com
6. Cut Carefully the Batting
Now you need to carefully cut the batting. Always remember to measure everything precisely so you will not to do your things two times. You should cut with the vinyl faced down and mark the cutting lines first. If you have a straightedge then use it to compress the batting and you can cut it easily. Use a sharp utility knife to make a precise and neat cut.
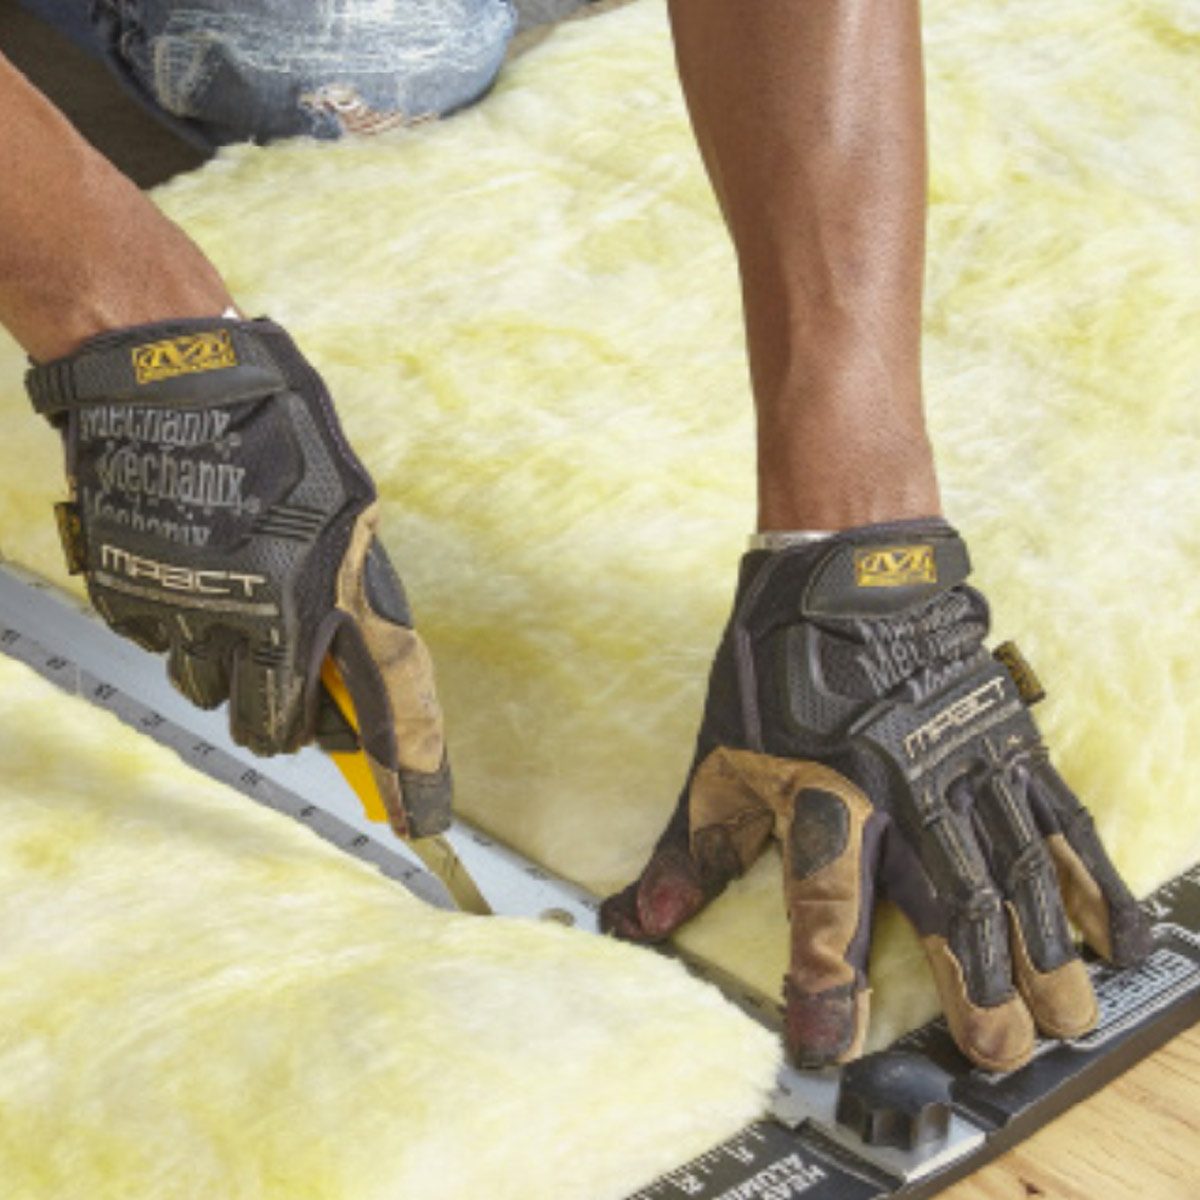
7. Put and Lock the Batting on the Desired Place
You need to put the batting on the door and push it so the retaining pins will puncture. Then you can push the retaining cup so the batting will be in place. Remember, the vinyl side faces the garage. Make sure all panels are properly insulated.
8. Place the Doorstop Weather Stripping
The doorstop is important and you need to place it against the top and side jambs. You want the vinyl weather stripping is at 45-degree angle. You can temporarily secure it with nails and you need to pound the halfway.
9. Test and Readjust
This step is important since the gap for each side may not be the same, so you need to test and readjust the vinyl. You can put pressure on the door as if there is strong wind then you can move the doorstop inward so you can get a good seal even in strong wind.
If your door still moves so much when you put the pressure on, you should readjust the temporary nails. You can replace your door’s hinges if you see the light through so it will press the door firmly all the times.
10. You May Need New Bottom Seal
To seal the bottom part, you may need uncrimp the slots that you find in the bottom of the door. You need to use a fat-blade screwdriver to gently twist the aluminum track so you can get a clear slot to put the bottom seal. Repeat this step for each end of the track. Then remove your old bottom seal.
After the slot is cleared, you can slip in the vinyl seal. To smoothen your way, you can use some dishwasher soap or spray some silicone. If you get some excess, you can cut off with a knife and crimp both tracks ends with a pair of pliers.
11. Test the Result
If your door is still in perfect condition then it will be staying in place although you lift it half-way and let go. This is important so you know exactly that your door is still in good shape.
However, the door insulation may add some weight to the door and may cause your door imbalance. You need to ask for professional help if you find your door fall after you pull it halfway unless you want to damage your door opener which will cost you more.
