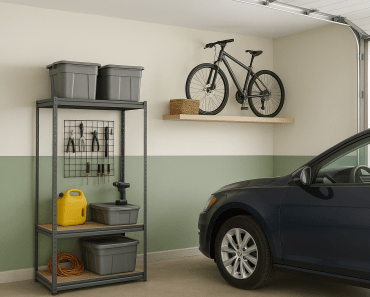
Once in several years, your house will undergo a renovation. It might not be the total makeover, but simple renovation for specific rooms. Some people prefer to check for any damage and repair it before things go worse. Your garage might come in the list sooner or later. When it does, you better be prepared.

1. Make Space
As much as you want to start the project immediately, you need to be realistic. There must be a lot of items in your garage. You will need to remove them to secure place first. While making preparation, you have to consider several things. How many items you should remove? Is it okay to put them outside for certain period of time?
If you already have perfect garage items, then you could just move them around. Do you have any place to put these items? Once you have answered all these questions, you probably need to adjust several activities in the house. For example, you will go to laundry center during garage painting period.
2. Clean And Repair
The purpose of painting your wall is making the space brighter. However, paint won’t stick well if your walls or floors are dirty. Therefore, you need to clean up the wall first. Make sure to clean the entire space. You cannot just focus on the wall without looking at the ceiling.
What are your main focuses in garage cleaning? They are the dust, oil and stains. Garage walls probably have the thickest dust layers compared to your indoor rooms. Even when you have painted the walls previously, you still need to do thorough cleaning.
Usually when you clean up the space, you will notice some cracks or things that should be repaired. If you let them and continue to paint the space, you are going to have flaws. It is highly recommended to repair any cracks before you continue the painting project. This way, your hard work will pay off.

3. Choose Paint Color And Type
Before the actual fun painting, you are going to choose the paint first. This job is often underestimated, until you face it. There are plenty of colors available from different brands. You also need to decide the paint type. Don’t forget that there are three different surfaces to paint; the floor, the walls and the ceiling. To help you choose wisely, you must understand the basic.
a. Paint Types
There are two popular options when it comes to garage painting. They are latex paint and oil-based paints. Each has its own advantages and disadvantages. If you are working with unpainted walls, then choose one.
Latex paint is commonly used for interior design. It has matte finish but easy to get stained. On the other hand, oil-based paint or also called alkyd has glossy finish. It is commonly used to paint wood or iron. Oil-based paint takes longer time to dry, but give your walls great protection from stains.
If your garage walls have been painted, then you cannot choose freely. You need to layer it with similar types of paint. How to tell the difference? You could do a little test. Wash small part of the wall with mild detergent. Then take a q-tip and dip it in alcohol. Rub it on the cleaned surface. You clearly need to buy latex paint if the wall color starts to wash off. Otherwise, you need to grab oil-based paint.
For floor and ceiling, you could use similar type of paint. As for the floor, you need to buy it separately. While doing repainting job, you will need an epoxy coating. If your garage is made from concrete, you might ask for paint specifically made for cement surface.
b. Paint Color
The result of this discussion relies heavily on you. What color do you like? What kind of look you are trying to get? Simplest rule for paint color will be dark and bright. If you choose the bright color, you will have wide-space effect. Be careful, bright colors will make any stains are clearly visible.
Choosing dark tone paint is great to hide the stains. Your garage will look clean all the time. However, it also sends dark and cramped vibe as well. When you choose the dark paint, don’t forget to install additional lights. This way, your garage will be less dark. Recommended colors for beautiful garage are natural blue, natural green, tan, beige and grey.
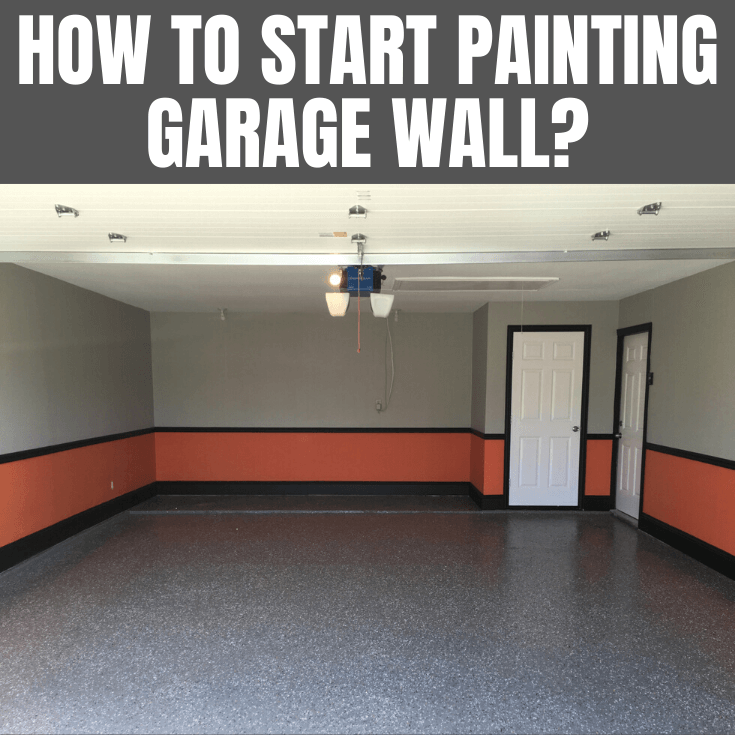
4. Start Painting
It is finally time to start painting. In the beginning you have made space for painting process. If you still leave several items in the garage, make sure to cover them well. You don’t want any stain on them. Check again whether you already have everything you need. Some of the essentials are paint roller, paint tray, drop cloth, bucket, dish soap, rack, broom, and edging brush.
Next, you need to open the garage door. Good ventilation is important so you will be able to breathe properly. It is even more important when you work with oil-based painting. Closing the garage door will slow down the drying process.
To prevent any stain on the floor, you will need drop cloth. Lay it on the floor and secure it using regular tape. It is okay to put on drop cloth on any furniture inside the garage. Then, you could start painting. It will be easier for you to start from the ceiling first. While waiting for the ceiling paint to dry, you could do the walls.
If your surface is unpainted, then you need to apply primer before the actual paint. Otherwise, paint will be absorbed to the cement, leaving you with dull and uneven color. For better result, start painting few inches from the corner. Use edging brush for this purpose. After the corners are covered, you could switch to paint roller immediately.
Another trick to paint walls is doing it horizontally. This method minimizes paint drip and waste. If you spot any dripping paint, grab your wet towel and wipe it gently. For dried drip, you should use spatula. Allow the paint to dry well before you start another layer. In many cases, painting project cannot be done within a day. Make a timeline so you know how many walls to paint.
