Starting your garden indoors can feel like unlocking a secret level in gardening—and that’s exactly what an indoor seed starting setup is all about. Whether you’re dreaming of lush vegetables, vibrant flowers, or a thriving herb garden, the right indoor seed starting setup gives you a serious head start before the outdoor season even begins 🌱
But here’s the truth most beginners don’t realize: not all setups are created equal. Some will give you weak, leggy seedlings… while others produce strong, healthy plants ready to explode with growth once transplanted.
In this guide, you’ll discover the Best 3 indoor seed starting setup ideas—from beginner-friendly to pro-level systems—plus detailed explanations, tips, and real strategies to help you succeed.
🌱 Why Choosing the Right Indoor Seed Starting Setup Changes Everything
Before diving into the setups, it’s important to understand why your setup matters so much.
A proper indoor seed starting setup controls the three most critical factors for seed success:
- 💡 Light intensity and duration
- 💧 Moisture consistency
- 🌡️ Temperature stability
When these three elements are optimized, seeds germinate faster, grow stronger, and resist disease better.
🌿 The Problem With Poor Setups
Many beginners use random containers near a window and expect great results. Unfortunately, that leads to:
- Weak, stretched seedlings (called “leggy” growth)
- Inconsistent germination rates
- Mold or damping-off disease
🌞 The Power of a Proper System
A well-designed setup transforms your results:
- Seeds sprout faster 🚀
- Seedlings grow compact and strong 💪
- Transplant success rate increases dramatically 🌼
❗ Important Note: Even the best seeds will fail in a poor indoor seed starting setup—but average seeds can thrive in a well-designed one.
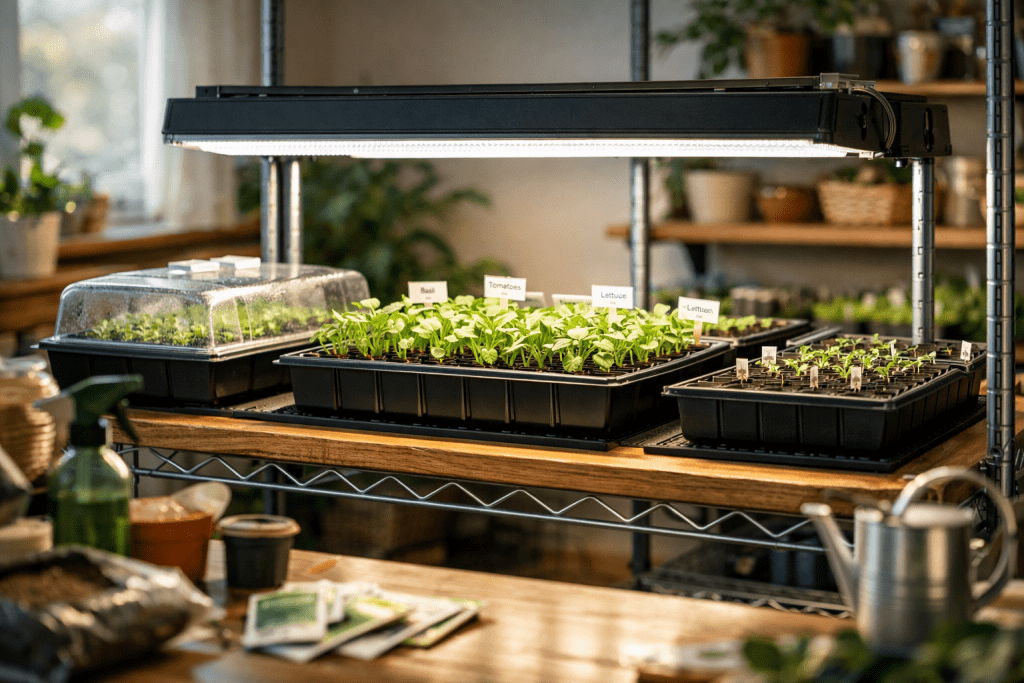
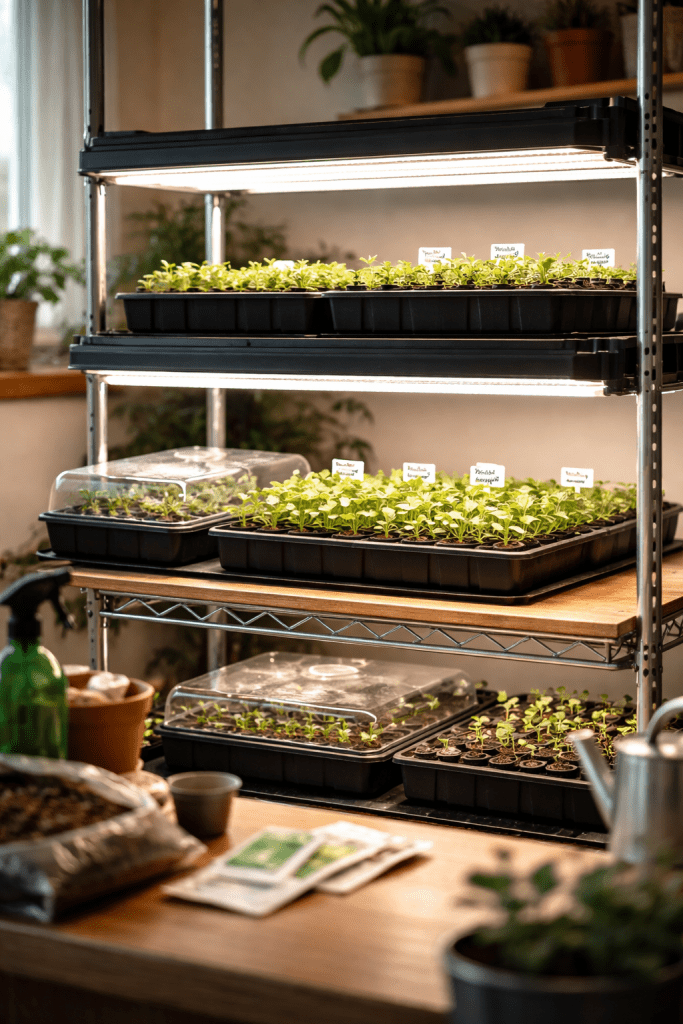
🥇 Best 1 Indoor Seed Starting Setup With Full Grow Light System
This is the ultimate setup for serious gardeners who want consistent, high-quality results.
💡 What Makes This Setup Powerful
A full grow light system replaces sunlight completely, giving you total control. Unlike windowsill setups, you don’t depend on weather or daylight hours.
This is especially useful if:
- You live in low-light areas
- You want early-season planting
- You grow high-demand crops like tomatoes or peppers
🧰 Components You Need
- LED grow lights (full spectrum) 💡
- Seed trays with drainage holes
- Seed starting mix (lightweight soil)
- Humidity dome
- Adjustable shelving unit
🌿 How It Works
The lights are positioned just above the seedlings (5–10 cm), ensuring they receive intense, direct light. This prevents stretching and promotes compact growth.
Humidity domes help maintain moisture during germination, while trays allow for bottom watering—keeping roots hydrated without overwatering.
🌟 Why This Setup Wins
- Consistent results year-round
- Strong, thick stems
- Faster growth cycles
🌱 Pro Tip
Keep lights on for 14–16 hours per day to mimic natural sunlight cycles ⏰
🥈 Best 2 Indoor Seed Starting Setup With Heat Mat and Humidity Control
This setup focuses on maximizing germination speed and success rate.
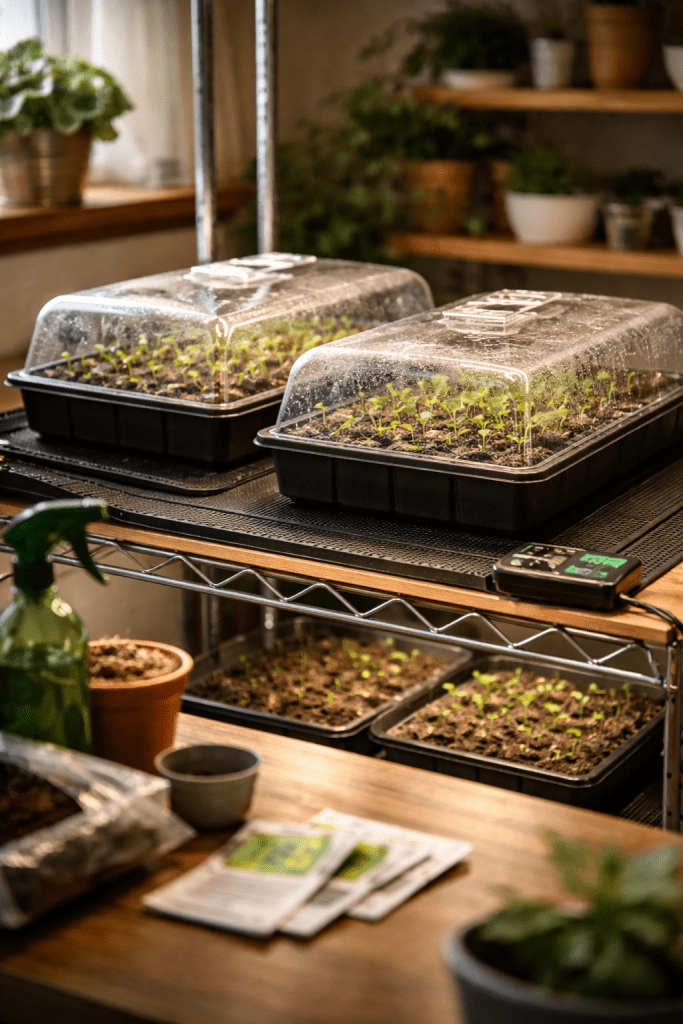
🔥 Why Heat Matters
Seeds don’t just need moisture—they need warmth to activate.
A heat mat placed under seed trays raises soil temperature, which:
- Speeds up germination
- Improves uniform sprouting
- Reduces seed failure
🧰 Components You Need
- Seed trays
- Seed starting mix
- Heat mat 🌡️
- Humidity dome
- Spray bottle for misting
🌿 How It Works
The heat mat warms the soil from below, creating ideal conditions for seeds to sprout. The humidity dome traps moisture, preventing the soil from drying out.
This combination creates a mini greenhouse effect indoors.
🌟 Why This Setup Works So Well
- Perfect for slow-germinating seeds
- Great for tropical plants
- Increases germination success dramatically
🌱 Ideal Crops for This Setup
- Peppers 🌶️
- Tomatoes 🍅
- Eggplants
- Herbs like basil
🥉 Best 3 Indoor Seed Starting Setup Using Windowsill Natural Light
This is the simplest and most budget-friendly option.
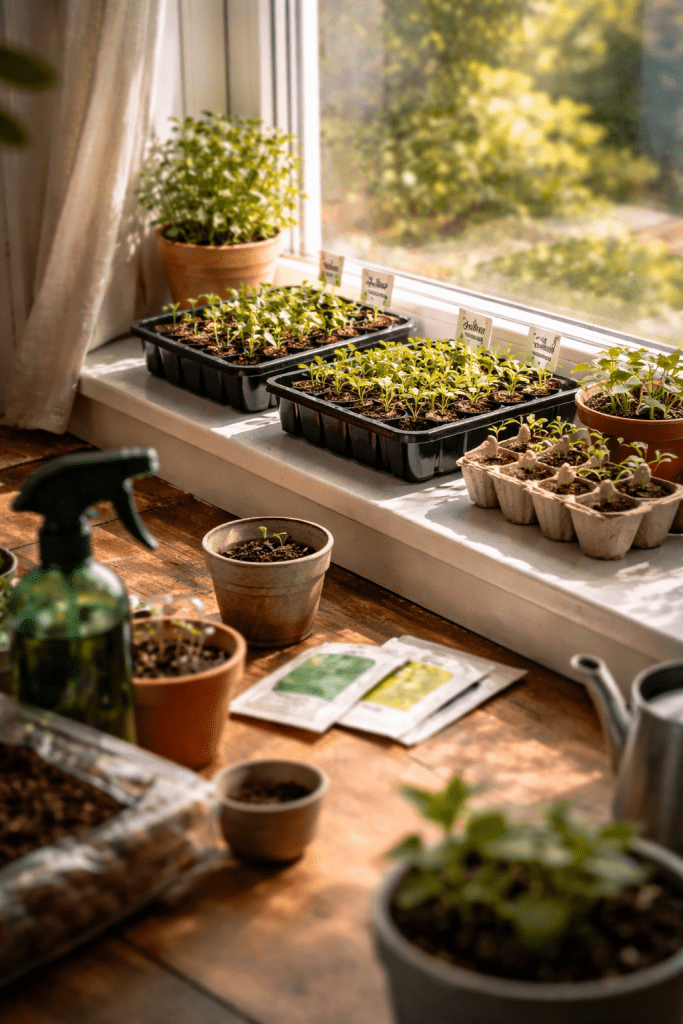
☀️ How It Works
You place your seed trays near a bright window—preferably south-facing—to get maximum sunlight.
🧰 Components You Need
- Containers or recycled pots ♻️
- Seed starting mix
- Bright windowsill
- Optional reflective surface (foil or white board)
🌿 The Reality of This Setup
While it’s easy and affordable, it has limitations:
- Light may not be strong enough
- Growth may be uneven
- Seedlings may become leggy
🌟 How to Improve This Setup
- Rotate trays daily 🔄
- Use reflective surfaces to bounce light
- Keep seedlings close to the window
📊 Comparison Table of the Best 3 Indoor Seed Starting Setup Ideas
| Setup Type | Cost 💰 | Difficulty 🧠 | Growth Quality 🌱 | Best For |
|---|---|---|---|---|
| Full Grow Light System | Medium–High | Medium | ⭐⭐⭐⭐⭐ | Serious gardeners |
| Heat Mat Setup | Medium | Easy–Medium | ⭐⭐⭐⭐ | Faster germination |
| Windowsill Setup | Low | Easy | ⭐⭐⭐ | Beginners |
🌿 Essential Materials for Any Indoor Seed Starting Setup
No matter which setup you choose, some essentials remain the same.
🪴 Seed Starting Mix
Use a light, well-draining mix—not garden soil.
Why?
- Better aeration
- Prevents root rot
- Supports delicate seedlings
💧 Watering System
Bottom watering is best:
- Prevents overwatering
- Encourages strong root growth
🌡️ Temperature Control
Most seeds prefer:
- 20–25°C for germination
🌼 Step by Step Guide to Building Your Indoor Seed Starting Setup
🪴 Step 1 Prepare Your Containers
Fill trays with seed starting mix and lightly press down.
💧 Step 2 Moisten the Soil
Pre-moisten the soil before planting seeds.
🌱 Step 3 Plant Seeds Properly
Follow seed depth instructions—usually 2–3x the seed size.
🌡️ Step 4 Maintain Ideal Conditions
- Keep soil moist
- Maintain warmth
- Provide sufficient light
🌿 Step 5 Thin Seedlings
Remove weaker seedlings to give strong ones space.
🌱 Common Mistakes That Ruin Indoor Seed Starting Setup
❌ Overwatering
Too much water leads to root rot and fungus.
❌ Not Enough Light
This causes leggy, weak seedlings.
❌ Planting Too Deep
Seeds may fail to sprout.
❌ Ignoring Airflow
Poor airflow encourages disease.
🌞 How to Transition Seedlings Outdoors Successfully
This process is called hardening off.
🌿 Steps to Follow
- Start with 1–2 hours outside
- Gradually increase exposure
- Avoid strong wind and direct sun at first
🌸 Final Thoughts on Building the Perfect Indoor Seed Starting Setup
Choosing the right indoor seed starting setup is the difference between frustration and success.
If you want:
- Maximum growth → go for the grow light system 💡
- Faster germination → use a heat mat 🔥
- Simple start → try a windowsill setup ☀️
Each method has its place, but the key is consistency and care.
Once you master this process, you’ll never rely on store-bought seedlings again—and your garden will thank you with stronger, healthier plants 🌿


